Create the Perfect Champagne Tower for Your Wedding
- Oct 17, 2025
- 2 min read
Updated: May 21
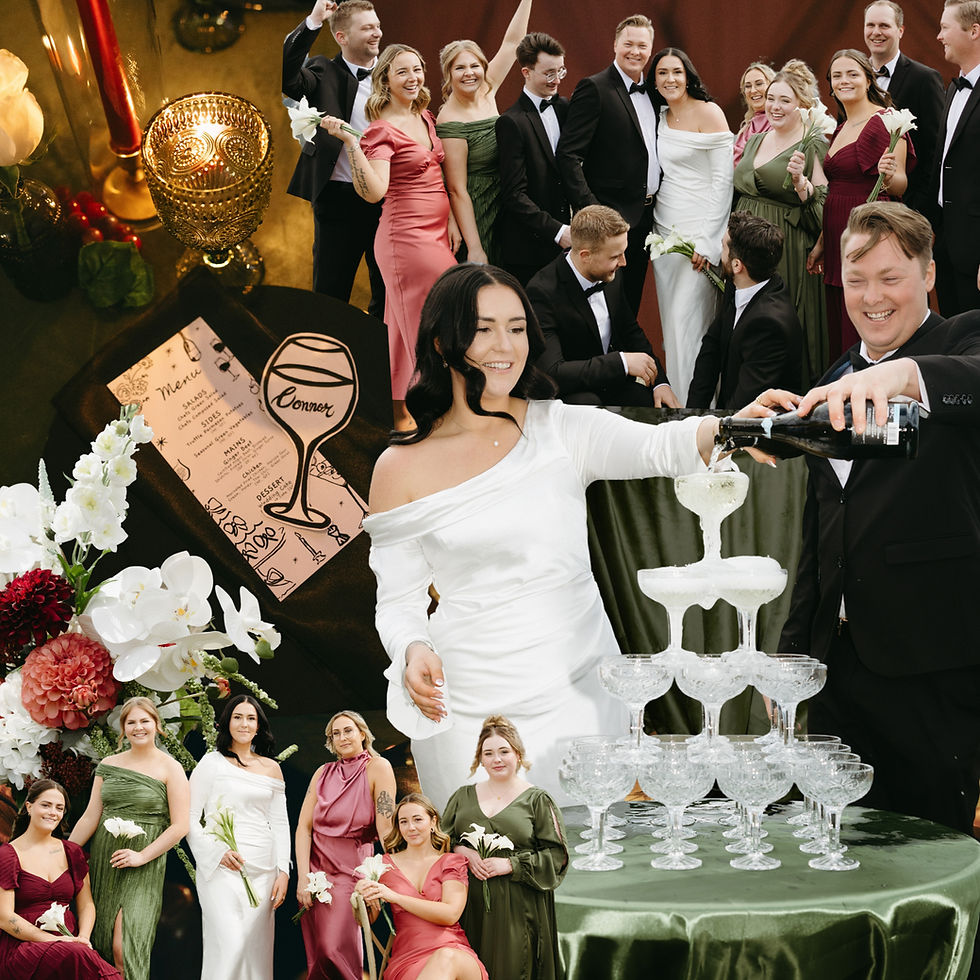
A champagne tower is one of those wedding moments guests never forget. It’s elegant, interactive, dramatic, and instantly makes your wedding feel elevated. A champagne tower creates a statement moment that looks incredible in photos and videos.
If you’re thinking about adding one to your wedding day, here’s everything you need to know.

What You’ll Need:
To build your tower, you’ll want to gather the following essentials.
Coupé-style champagne glasses (These stack best)
A sturdy, flat table or surface
A tray or waterproof base to catch any spills
Several bottles of champagne or sparkling wine
Optional decor: table linens, florals, candles, or a backdrop to elevate the scene
How to Build a Champagne Tower

1. Pick Your Location
Choose a flat, sturdy table that can handle the weight of stacked glassware and liquid. Make sure the area has enough room for guests to gather around. Consider setting up in front of a feature wall, floral backdrop, or neon sign for extra drama.
2. Lay the Base
Place your tray or protective base on the table. This will help catch any spills and keep your table safe.
3. Start with the Bottom Layer
Begin stacking the glasses in a square or pyramid base. For example, a 4x4 layer (16 glasses) makes a beautiful medium-sized tower. Each glass should lightly touch the others but sit evenly and securely.
4. Build Upward
Stack the next layer by placing each glass directly in the centre of four glasses below it. Continue until you have a single glass at the top. Be gentle, precision is key here!

5. Prep the Pour
Chill your champagne bottles ahead of time. When ready to pour, stand on a stool or platform (if needed), and slowly pour into the top glass, allowing it to overflow and cascade down to the layers below.
6. Capture the Moment
This is your time to shine! Have your photographer or a friend ready to snap the moment the champagne begins to flow. It makes for an unforgettable photo. Bonus points if you and your partner pour it together!
Champagne Tower Tips & Tricks
You will need 2-3 bottles for a small tower. Larger need roughly 1 bottle for every 5–6 glasses.
Practice set up beforehand with empty glasses to perfect your stacking technique.
Use high-quality coupé glasses, renting is a great way to get matching, sturdy glassware.
Don’t overfill! Let the champagne trickle naturally to avoid messy spills.
Keep extra bottles nearby so guests can toast once the tower is done!

Add Some Oak and Ivory Magic
Want a champagne tower setup without the stress? Oak and Ivory offers coupé glassware rentals, and elegant table décor to help you create a statement moment that your guests will never forget.
Let us help you style your toast table with soft linens, modern accents, and a little bit of that Oak and Ivory magic. Ready to rent your glassware or design your champagne tower setup?